BakeryBits - the best Baking Equipment and Ingredients
Where kindness is baked in. Come in, shop slow, ask anything.


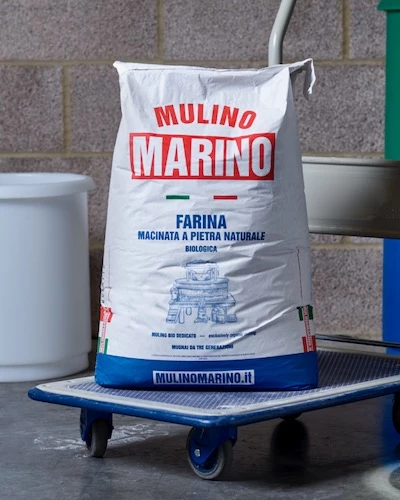
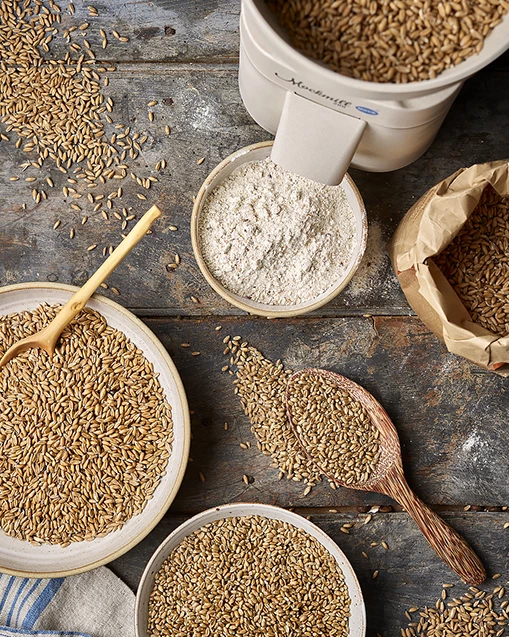
Grains for Milling your Own Flour
A wide range of grains for mixing and milling your own flour for baking.


Where kindness is baked in. Come in, shop slow, ask anything.
A wide range of grains for mixing and milling your own flour for baking.


 Courses
Artisanal bread baking courses to hone your skills from around UK and overseas.
View Jobs
Jobs
Our community jobs board has a wide range of Artisan Bakery Jobs throughout the UK and overseas.
View Recipes
A wealth of recipes from BakeryBits showing how to get the most of our equipment and ingredients.
View